Capturing the perfect selfie or group shot on an iPhone just got a whole lot easier. Imagine this: you’re at a stunning location, and everyone’s ready to smile, but there’s no one to click the shutter. Enter the timer feature—your new best friend for those picture-perfect moments.
Table of Contents
ToggleOverview of Timer Photography
Timer photography enhances the experience of capturing images with an iPhone. This feature allows users to take photos without needing someone else to operate the camera. Individuals can set a delay of 3 or 10 seconds, providing ample time to pose for a photo.
Photographers utilize this tool for various situations. Those wanting a scenic landscape with themselves in the frame benefit from the timer. Friends or families wishing to take group shots can effortlessly join in the picture, eliminating the need to ask a stranger for assistance. Furthermore, a timer helps stabilize the camera and reduce blur, especially during longer exposures.
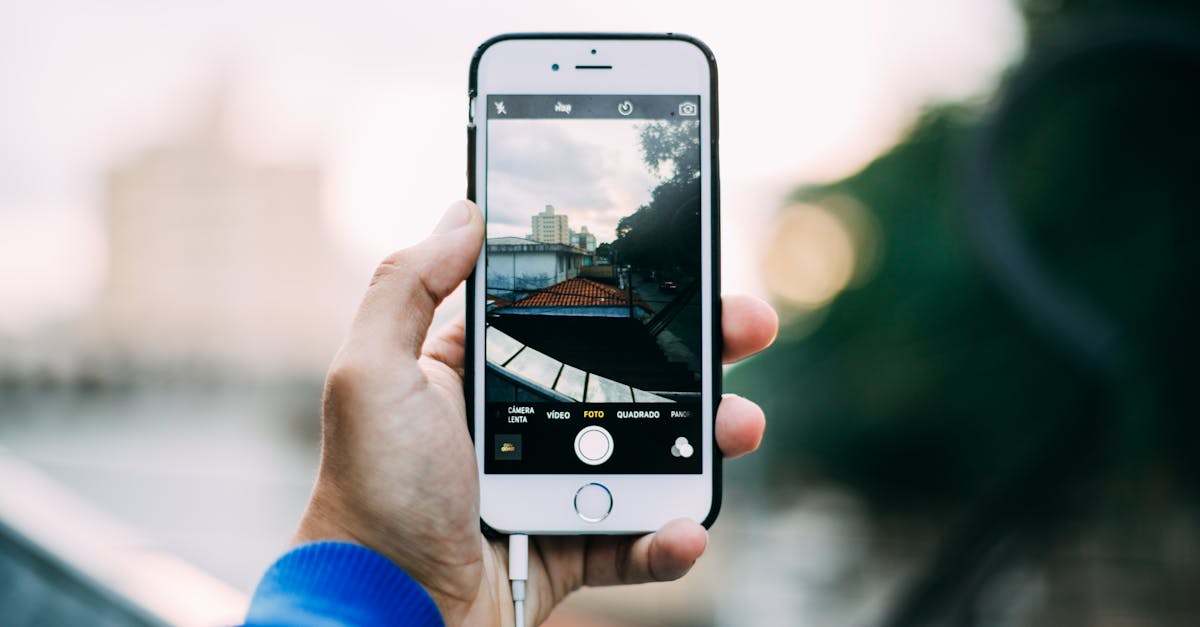
Using this feature is straightforward. Navigating to the camera app, users find the timer icon at the top of the screen. Tapping this icon reveals the timer options, allowing quick adjustments. Several photographers prefer the 10-second delay for group photos, as it allows more time to organize their positions.
Creative uses arise with timer photography. Individuals can experiment with different poses, switching perspectives, or engaging in candid moments. The versatility of this feature unlocks unique opportunities in various environments, from natural landscapes to urban settings.
Setting up a timer requires minimal effort. Engaging with the camera settings ensures that the feature is easy to access whenever needed. Many users discover additional functionalities, such as burst mode, which can complement the timer for capturing multiple frames in quick succession, ensuring the best shot is always possible.
Setting Up Your iPhone for Timer Photos
Setting up an iPhone for timer photos is straightforward and enhances photography experiences. Users can easily access the timer feature through the Camera app.
Accessing Camera Settings
First, users must open the Camera app. The user interface appears simple, allowing easy navigation. Tapping on the timer icon reveals timer options directly. Familiarize yourself with the camera’s main controls for a smooth experience. After selecting the timer, adjust any other camera settings, like flash or filters, as needed.
Choosing the Right Timer Option
The iPhone offers two timer options: 3 seconds and 10 seconds. Choosing a shorter delay works well for quick selfies. Longer delays benefit group photos or scenarios involving movement, allowing users to run into position. Experimenting with both settings yields helpful insights to optimize shoots. For instance, a 10-second timer permits a moment to compose shots better, ensuring everyone is in place.
Taking Your First Timer Photo
Taking a timer photo on an iPhone is simple and efficient. Users can capture the perfect moment without the need for assistance.
Positioning Your iPhone
Positioning the iPhone correctly is crucial for a great photo. Place the device on a stable surface, ensuring it won’t wobble during the shot. Use a tripod for increased stability, especially in outdoor settings. Angle the camera slightly higher or at eye level to create a more flattering perspective. Check the background for distractions before finalizing the placement. Adjust the camera settings, including focus and exposure, for optimal results.
Composing Your Shot
Composing the shot involves careful consideration of elements within the frame. Start by selecting a suitable background that enhances the subject. Use the grid feature in the camera settings to align the horizon or main subjects effectively. Experiment with the positioning of individuals to find a balanced arrangement. Allow space for movement if the photo involves action or dynamic poses. Maintain a clean foreground to keep the focus on the subjects. Finally, verify the lighting conditions ensuring natural light is utilized to enhance the image quality.
Tips for Great Timer Photos
Timer photos can significantly enhance photography experiences. Here are some practical tips to enhance the quality of those captured moments.
Using Tripods and Stabilizers
Tripods offer stability, reducing camera shake in timer photos. An adjustable tripod allows for various heights, ensuring flexibility in shot composition. If a tripod isn’t available, stabilizers can also help maintain balance. Users should place the iPhone on a sturdy surface, aiming for level positioning to avoid tilted images. Proper setup leads to clearer, sharper photos free from unwanted blur.
Experimenting with Angles and Lighting
Angles play a vital role in photo composition. Changing the height or perspective can create unique shots, allowing for creative expression. Users can capture angles from above or below for dynamic visuals. Considering lighting conditions is essential as well. Natural light often produces the best results, especially during golden hour. Avoid harsh shadows by finding shaded spots or using reflectors to enhance illumination.
Common Issues and Troubleshooting
Users might encounter issues while using the timer feature on their iPhone. One common problem involves the timer not responding when activated. Ensure the Camera app is fully updated; outdatedsoftware could hinder functionality.
Connectivity issues can also disrupt the operation. If the device struggles to connect, restarting the iPhone often resolves the problem. This simple step refreshes the device and restores settings.
Sometimes, images may turn out blurry despite using the timer. Improper stabilization can lead to this issue. Positioning the iPhone on a flat surface or using a tripod provides more support, preventing unwanted movement during the shot.
A user may notice difficulty lining up shots if the screen brightness is low. Adjusting brightness settings enhances visibility while composing images. Increasing the brightness can make it easier to see the frame clearly.
Additionally, battery life impacts the camera performance. Reduced battery may limit the device’s features. Keeping an eye on battery levels ensures the timer can function without interruptions during important moments.
Confusion may arise regarding the timer options, particularly between the 3-second and 10-second settings. Familiarizing oneself with these choices helps determine the best use case for each type of shot. The quick option is ideal for selfies, while the longer timer allows for greater preparation time with group photos.
If a user continues to experience difficulties, consulting Apple’s support page offers guidance tailored to specific issues. Access to up-to-date resources can provide further troubleshooting options.
Mastering the timer feature on an iPhone opens up a world of photographic possibilities. Whether capturing a solo adventure or a fun group moment it empowers users to take control of their shots. With simple adjustments and a little creativity anyone can enhance their photography skills.
Utilizing the timer not only adds convenience but also encourages experimentation with angles and lighting. By following the tips outlined the chances of capturing stunning images increase significantly. Embracing this feature allows for memorable moments to be preserved effortlessly.
So grab that iPhone and start exploring the art of timer photography. The perfect shot is just a few seconds away.

